The Unsung Hero: Why Shipping Container Flooring Matters in Your Conversion
Embarking on the exciting journey of transforming a rugged shipping container into a cozy vacation retreat or a modern home is a thrilling adventure. While the steel walls and structural integrity often grab the spotlight, there’s an often-overlooked, yet critically important, component that dictates both the safety and aesthetic appeal of your new space: the flooring. Far from merely a base, our new shipping container flooring sets the foundation for comfort, usability, and the overall feel of your dream home.
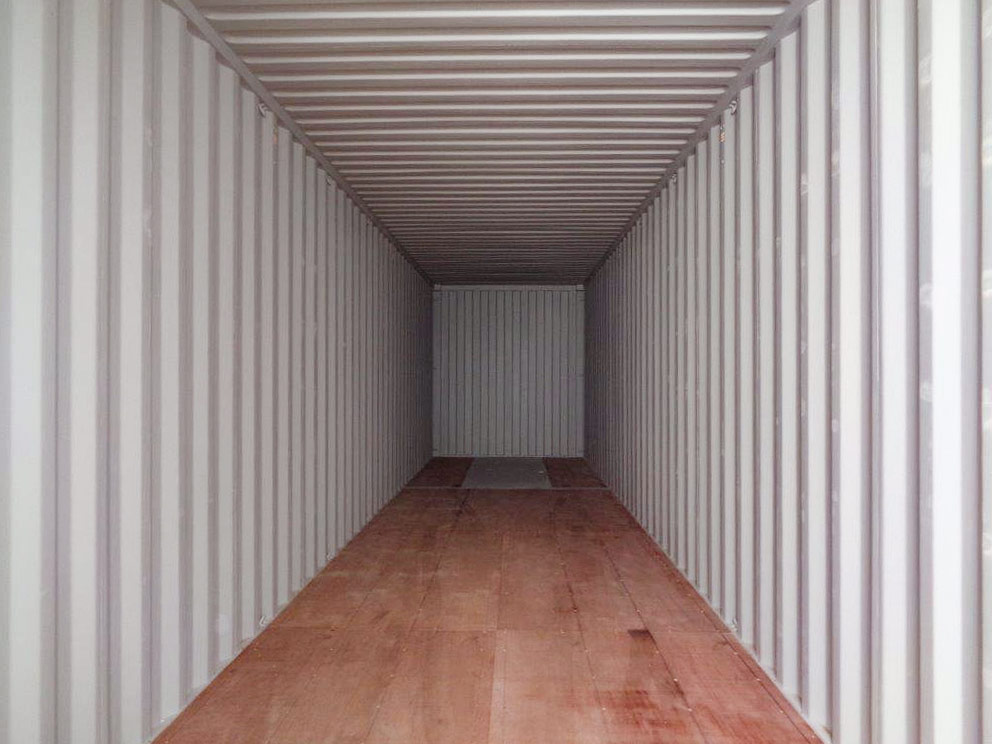
Most shipping containers have seen the world, literally. Their floors bear the marks of countless journeys across oceans and continents, carrying an untold variety of cargo. This history, while fascinating, often leaves the original marine-grade plywood in a state of wear and tear, complete with scratches, dirt, and sometimes even additional patched pieces. For budget-conscious DIY enthusiasts, opting for a used container makes perfect sense, offering a canvas ripe for transformation. The initial appearance of these floors might be daunting – a far cry from the pristine surfaces needed for a habitable space. But with the right approach, even the most battered floor can become a stunning, safe, and move-in-ready feature.
Addressing the Elephant in the Room: Are Shipping Container Floors Toxic?
Before you even think about laying down new carpets or polishing surfaces, a crucial question arises: is the original shipping container floor safe? This concern stems from two primary factors: the unknown history of cargo and the common treatment of marine-grade plywood. Shipping containers transport everything from consumer goods to industrial chemicals, leaving behind potential residues. More significantly, the plywood typically used in container floors is treated with pesticides to prevent insect infestations during international transit. These treatments, while effective for cargo protection, are not designed for chronic human exposure, especially in a living environment.
For those converting a container into a home, particularly one where children might eventually play, ignoring this issue isn't an option. You essentially have two main pathways to address potentially toxic floors:
- Full Flooring Replacement: This involves completely ripping out the original plywood, disposing of it responsibly, and installing new, untreated flooring. While this offers the most comprehensive solution for eliminating original treatments, it's often the most expensive and labor-intensive option. It might also involve additional steps like creating a vapor barrier with blown-in insulation, further increasing costs and complexity.
- Sealing the Original Flooring: This method involves thoroughly cleaning and then encapsulating the existing floor with a robust sealant. This approach is generally more budget-friendly and DIY-accessible, effectively locking in any potential toxins and creating a safe surface.
Many DIYers, much like us, lean towards option #2. Our research confirmed that with the right products and techniques, sealing provides a highly effective and safe solution without the prohibitive costs of a complete overhaul. For a deeper dive into the specific risks and more detailed solutions, you might find Tackling Toxic Floors: Safe Shipping Container Solutions invaluable.
If you're purchasing a brand-new, "single-use" container, you might have the option to specify a "safe" or untreated flooring. However, for the majority of used containers, taking proactive steps to address the flooring is non-negotiable.
Epoxy Sealing: The DIY-Friendly, Budget-Conscious Solution for Our New Shipping Container Flooring
Having established the necessity of addressing the container's original floor, the next step is choosing the right method, and for many, epoxy sealing stands out as an excellent choice. Epoxy is not just a paint; it's a durable, chemical-resistant resin system that, when properly applied, forms a hard, impermeable barrier. This makes it ideal for encapsulating the existing treated plywood, sealing in potential contaminants while simultaneously creating a robust, easy-to-clean surface.
The appeal of epoxy sealing for shipping container conversions is multi-faceted:
- Safety First: The primary benefit is its ability to create a protective barrier, effectively isolating any underlying pesticide treatments or residues from the living space.
- Exceptional Durability: Epoxy floors are renowned for their toughness. They can withstand heavy foot traffic, resist abrasions, and are incredibly easy to clean, making them perfect for a vacation home or permanent residence.
- Cost-Effective: Compared to tearing out and replacing an entire floor, the cost of epoxy materials is significantly lower, making it a budget-friendly option for achieving a high-quality finish.
- Versatility: While often left as a smooth, industrial-chic finish, a sealed epoxy floor also provides an excellent base if you decide to lay down additional flooring materials like laminate, vinyl planks, or even carpeting at a later stage.
- DIY Potential: With careful preparation and application, epoxy sealing is a project that many DIYers can successfully undertake, adding to the satisfaction of creating your own space.
Our research led us to a two-part epoxy system: an Epoxy Clear Base combined with an Epoxy Curing Agent. These components, when mixed, initiate a chemical reaction that generates heat – a normal and expected part of the curing process. This reaction is what transforms the liquid mixture into a solid, durable sealant.
Your Step-by-Step Guide to a Flawless Epoxy Floor
Achieving a professional-looking and safe epoxy floor in your shipping container requires meticulous preparation and careful application. Here’s how to do it:
1. Preparation is Paramount
- Thorough Cleaning: Begin by removing all loose dirt, debris, and existing contaminants. Use a powerful vacuum cleaner to get into every crack and crevice.
- Remove Loose Elements: Carefully inspect the floor for any loose wood splinters, nails, or extraneous adjustment pieces. Remove them to create a smooth, consistent surface. Be mindful of splinters and wear thick gloves.
- Degrease and Dry: If there's any evidence of grease or oil stains from previous cargo, clean these areas thoroughly with a suitable degreaser. Ensure the floor is completely dry before proceeding.
- Safety First: Before you even open the epoxy, gather your safety gear: chemical-resistant gloves, eye protection, and ensure the area is well-ventilated. Consider wearing a respirator, especially if working in an enclosed space.
2. Mixing the Epoxy
- Read Instructions Carefully: Each epoxy product has specific mixing ratios and instructions. Adhere strictly to these guidelines.
- Precise Measurement: Measure the Epoxy Clear Base and Epoxy Curing Agent precisely. Inaccurate ratios can lead to improper curing and a compromised finish.
- Thorough Mixing: Mix the two components thoroughly using a drill mixer with a paddle attachment for the recommended time. As mentioned, you'll feel heat as the chemical reaction begins – this is normal.
- Working Time: Be aware of the "pot life" or working time of your epoxy. Once mixed, you'll have a limited window to apply it before it begins to set. Plan your application strategy accordingly.
3. Application Techniques
- Section by Section: Work in manageable sections. This helps ensure even coverage and prevents the epoxy from setting before you can properly spread it.
- Tools: Use a high-quality roller with a medium nap for large areas and a brush for edges and corners. A squeegee can also be effective for spreading the initial coat evenly.
- Even Coats: Apply the epoxy in thin, even coats. Avoid puddling or excessively thick areas, as this can affect curing and overall appearance.
- Second Coat (Optional but Recommended): Depending on the product and desired durability, a second coat of epoxy might be recommended after the first has partially cured (check product instructions for recoat times).
- Ventilation: Maintain excellent ventilation throughout the application and curing process. Open doors and windows, and use fans if possible, to dissipate fumes.
For more detailed insights into budget-friendly approaches and a visual guide to the process, check out our companion article: DIY Shipping Container Flooring: Budget Makeover Guide.
Beyond the Basics: Maintaining Our New Shipping Container Flooring
Once your epoxy floor has fully cured (which can take several days depending on the product and environmental conditions), you'll have a wonderfully durable and easy-to-maintain surface. Epoxy floors are inherently low-maintenance; regular sweeping and occasional mopping with mild cleaners are usually all that’s needed to keep them looking pristine.
While a clear epoxy finish is often chosen for its sleek, modern aesthetic and protective qualities, you can also opt for pigmented epoxy if you desire a specific color. Some owners choose to add decorative flakes or anti-slip aggregates to the wet epoxy for added visual interest or safety. The beauty of an epoxy-sealed floor is its versatility – it serves as an excellent standalone finish or a robust subfloor for future decorative overlays.
Conclusion: Crafting Your Dream Container Home, One Floor at a Time
Transforming the worn, often intimidating floor of a shipping container into a safe, beautiful, and functional surface is a defining step in any container conversion project. By opting for epoxy sealing, you not only address critical safety concerns related to treated plywood but also create a remarkably durable and aesthetically pleasing foundation for your space. This budget-friendly, DIY-accessible method empowers you to take control of your container's transformation, turning those "ugly original floors" into a testament to your vision and effort. So, roll up your sleeves, embrace the challenge, and prepare to welcome guests to our new shipping container flooring, a vital component of your modern dream home.
